How to Prepare Sneakers for Washing: 6 Essential Steps
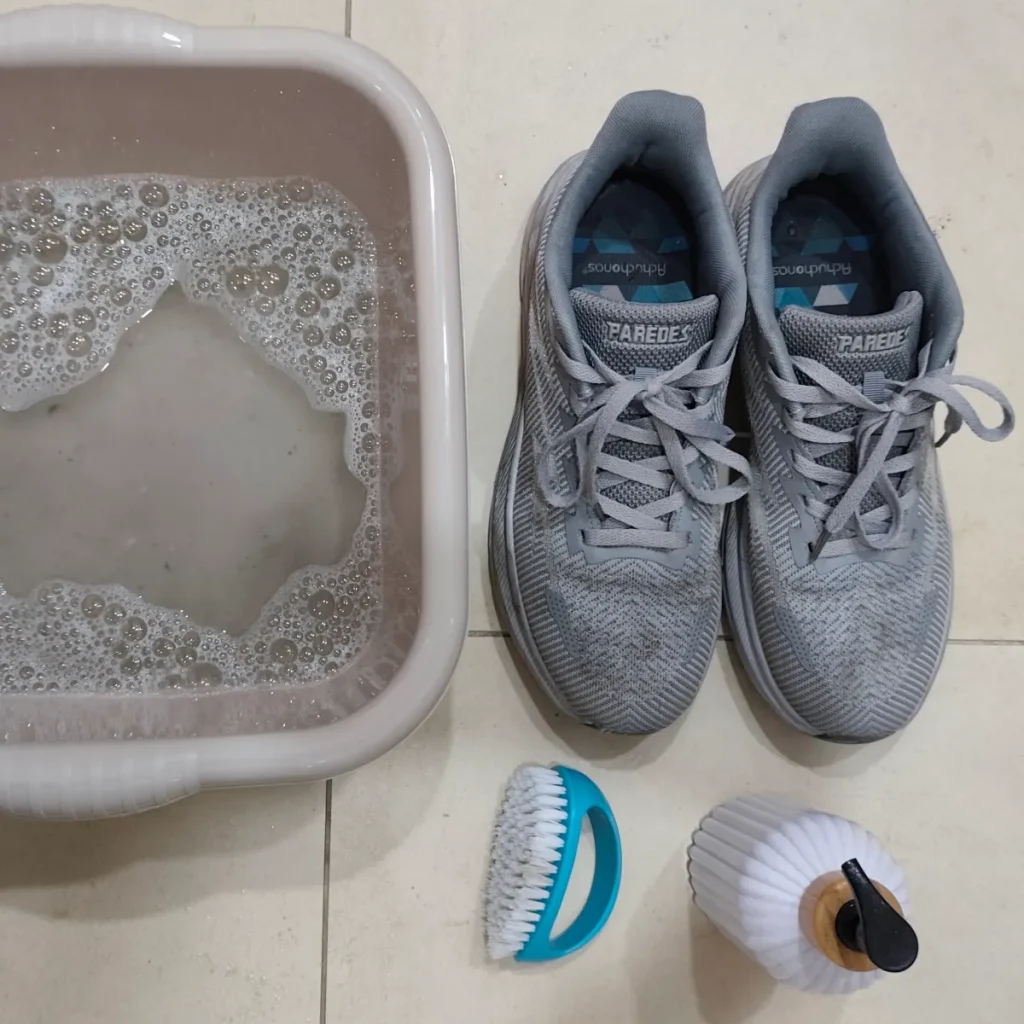
Learn how to prepare sneakers for washing in 6 steps? Skipping the prep steps — or doing them out of order — leads to laces that tangle, stains that set permanently, and insoles that come out smelling worse than before.
This guide covers everything that should happen before your shoes go into the washing machine, get hand-washed, or receive any cleaning treatment. These steps apply regardless of cleaning method.
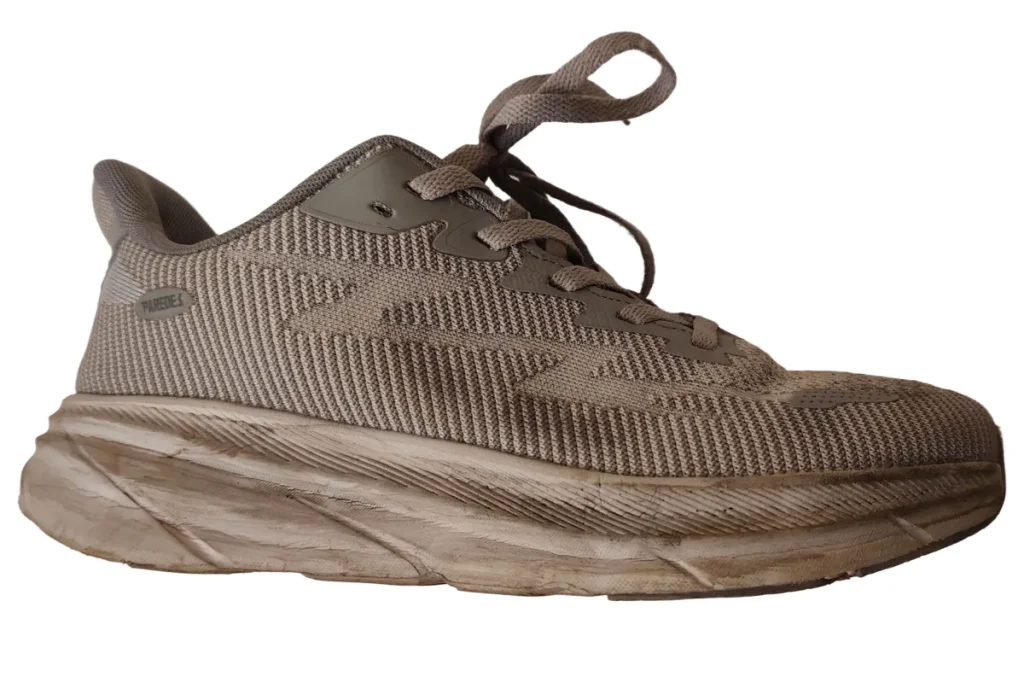
Once prep is complete, continue to [How to Wash Sneakers in the Washing Machine] or [How to Wash Sneakers by Hand] depending on your shoe type.
Contents
Step 1 — Check the Care Label First
Before touching the shoes, find the care label. It is usually stitched into the tongue, the inner heel collar, or along the inside lining seam.
The care label tells you whether the shoe is machine washable, hand wash only, or cannot get wet at all. Ignoring this label is the most common reason people ruin shoes they could have cleaned safely.
Common care label symbols decoded:
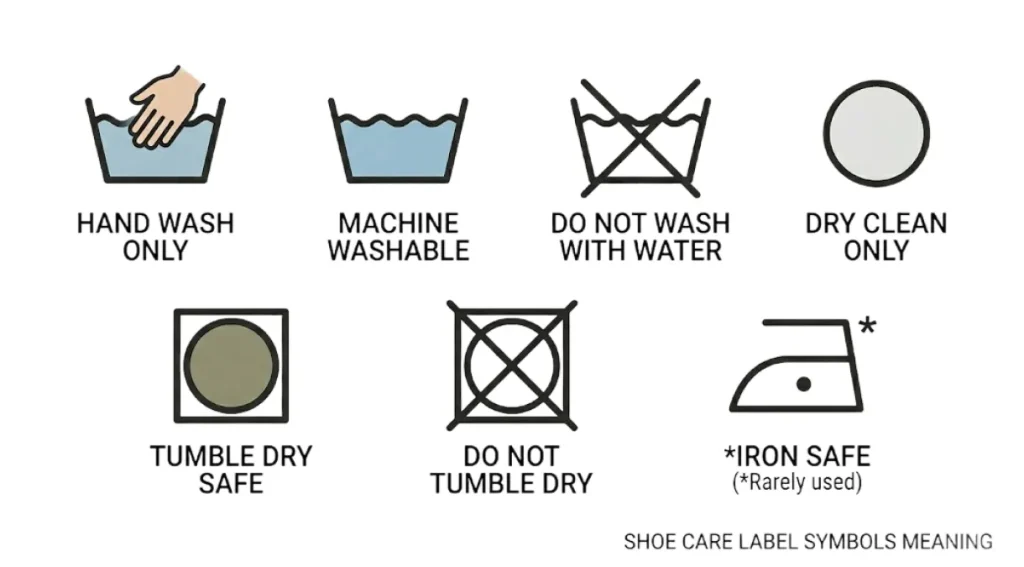
| Symbol | Meaning |
|---|---|
| Tub with water + hand | Hand wash only — no machine |
| Tub with water | Machine washable |
| Tub with X through it | Do not wash with water |
| Circle | Dry clean only |
| Square with circle inside | Tumble dry safe |
| Square with circle + X | Do not tumble dry |
| Iron symbol | Safe to iron (rarely relevant for shoes) |
If the label is missing or worn off, use the material as your guide. Fabric and mesh uppers are almost always safe to machine wash. Leather, suede, and nubuck are not.
Step 2 — Remove the Laces
Pull out both laces completely before any washing method. Do not wash shoes with laces still threaded through the eyelets.
Why this matters: Laces left in the shoe tangle around drum mechanisms in the washing machine. They trap soap and take far longer to dry than the shoe itself, causing mildew at the eyelets. In hand washing, laces get in the way and prevent you from cleaning the tongue and eyelet area properly.
How to clean laces separately:
For fabric laces, place them in the mesh laundry bag with the shoes during a machine wash — they will come out clean. For white laces that have greyed over time, soak them in a bowl of warm water with a small amount of oxygen bleach or white vinegar for 30 minutes before the wash.
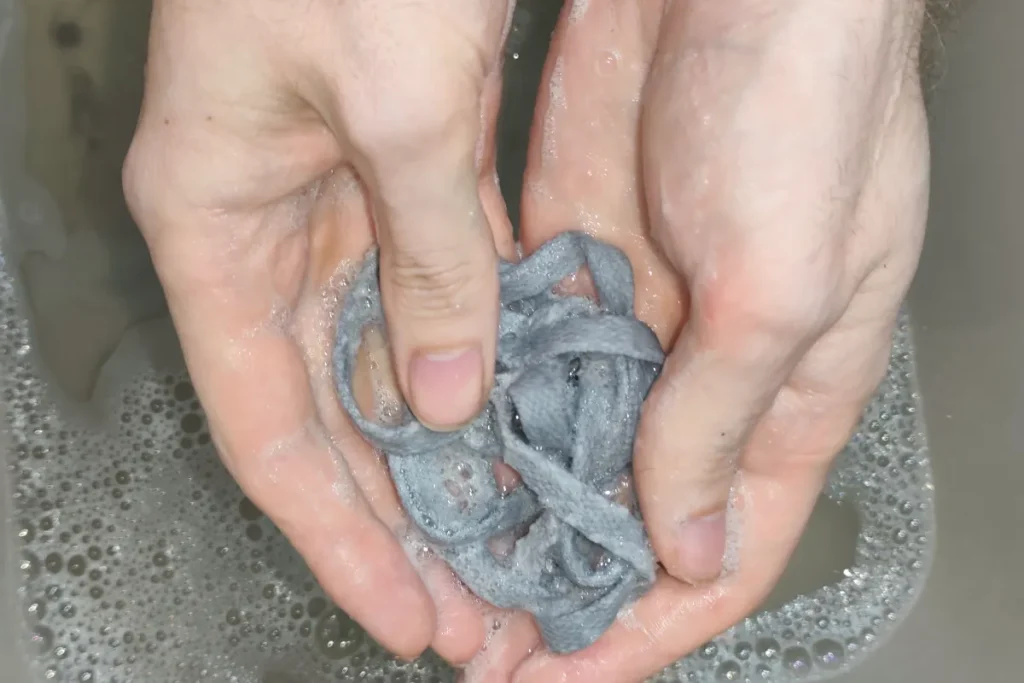
For hand washing laces: drop them into a small bowl of warm water with a few drops of liquid detergent. Work them between your fingers for 30–60 seconds, rinse thoroughly under cold water, and leave them flat to air dry. Do not wring them — this frays the ends.
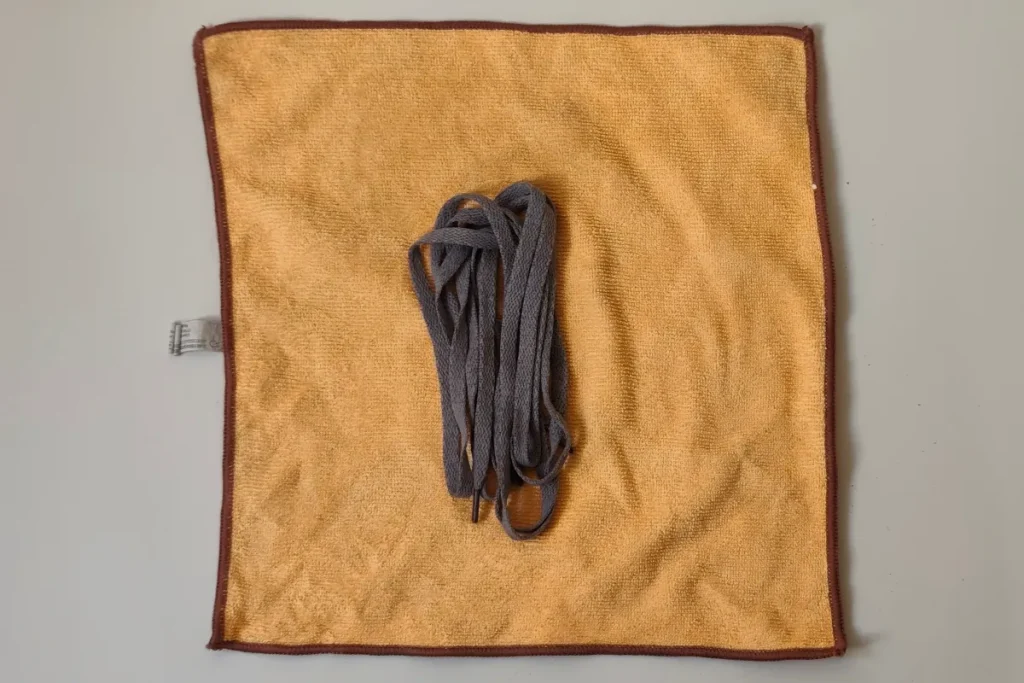
Step 3 — Remove the Insoles
Pull both insoles out of the shoes and set them aside. Insoles should never go through the washing machine.
Why: Insoles are typically made of foam or memory foam with a fabric covering. Machine washing saturates them completely, and they take 24–48 hours to dry fully even with air circulation. A wet insole sitting inside a shoe is the primary cause of the musty smell that develops after washing.
How to clean insoles separately:
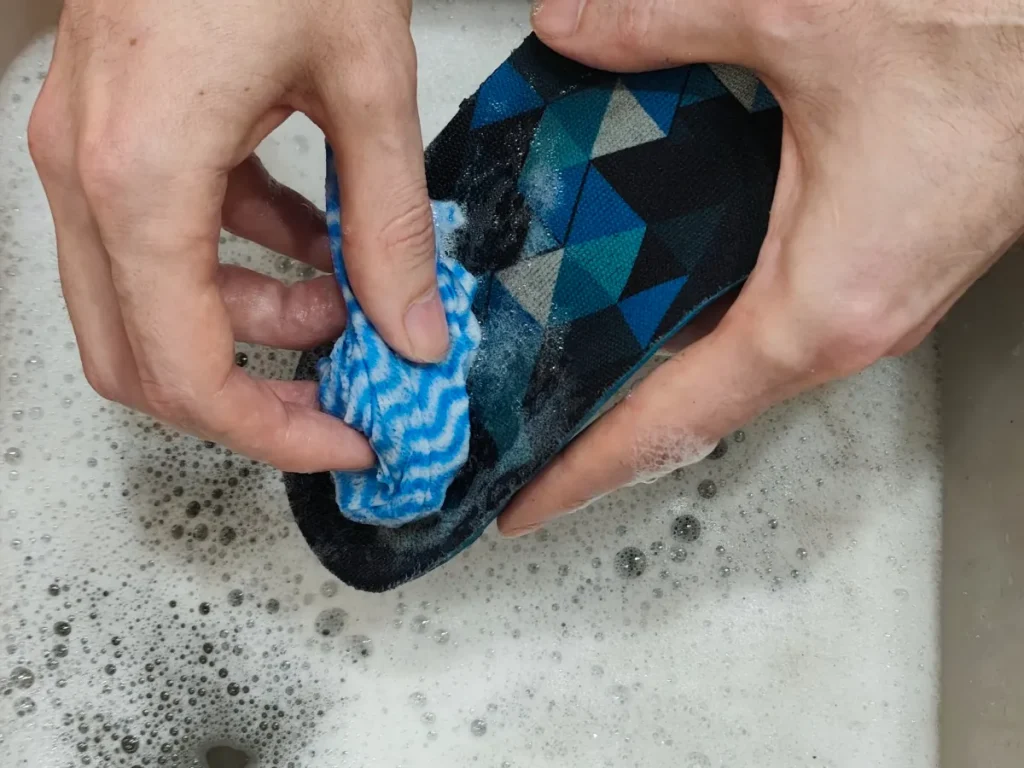
Wipe the top surface with a damp cloth and a tiny amount of mild soap. Do not soak them. For insoles with significant odour, sprinkle baking soda over the surface, leave for 2–3 hours, then tap off and wipe down. Place them flat in a ventilated area to dry completely — standing upright or propped against a wall helps airflow reach both sides.
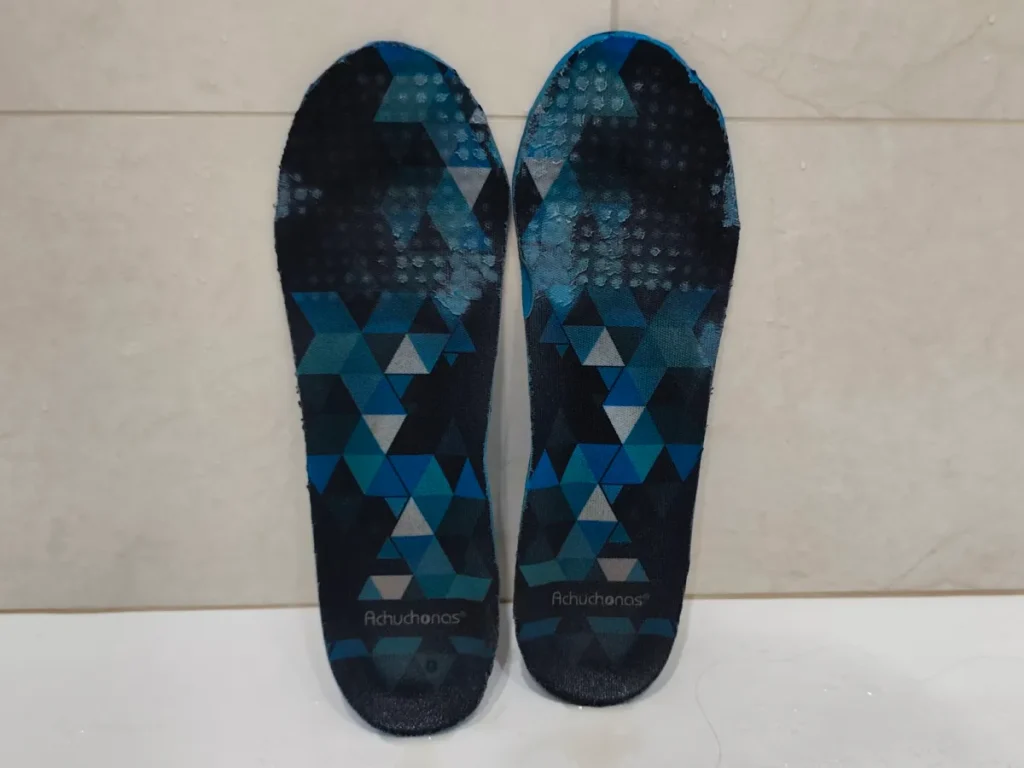
Do not put insoles back in the shoe until both the insole and the shoe interior are fully dry. Replacing a dry insole into a still-damp shoe causes the same mildew problem.
If your insoles smell even after cleaning, the odour is usually coming from bacteria inside the shoe lining itself. Read our [Best Way to Remove Smell from Sneakers] guide for the full solution.
Step 4 — Remove Loose Dirt from the Outsoles
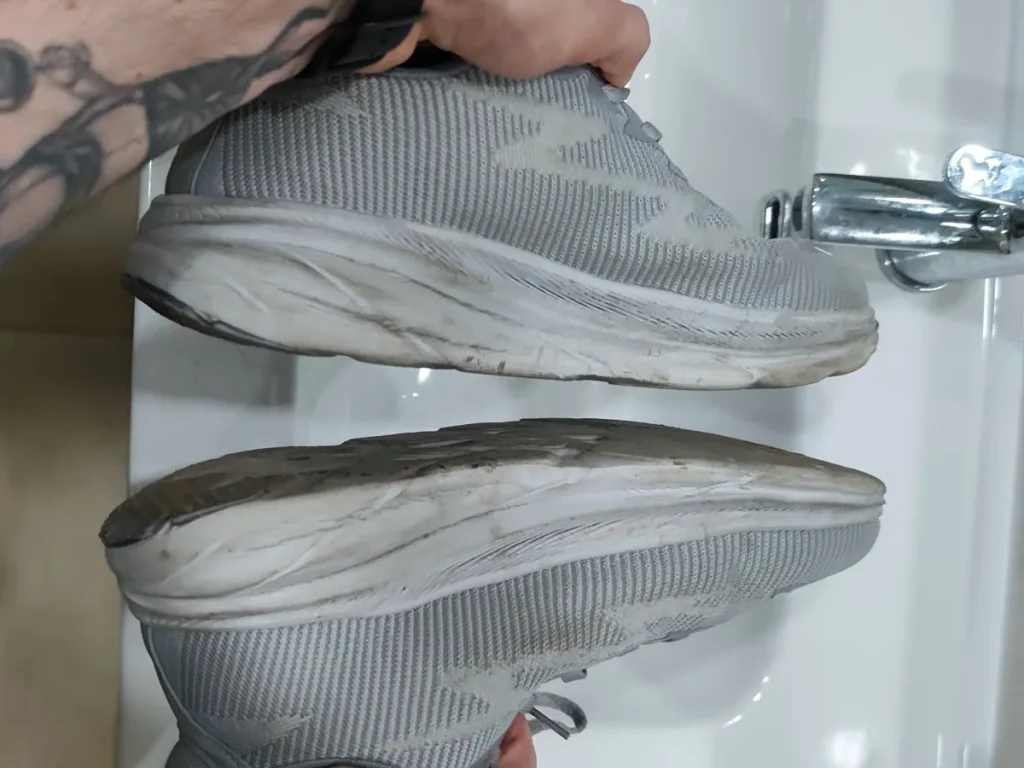
Take the shoes outside or over a bin before bringing them near your washing machine or cleaning area. Knock the soles firmly together to dislodge dried mud and loose debris. Most of the visible surface dirt will fall away with this step alone.
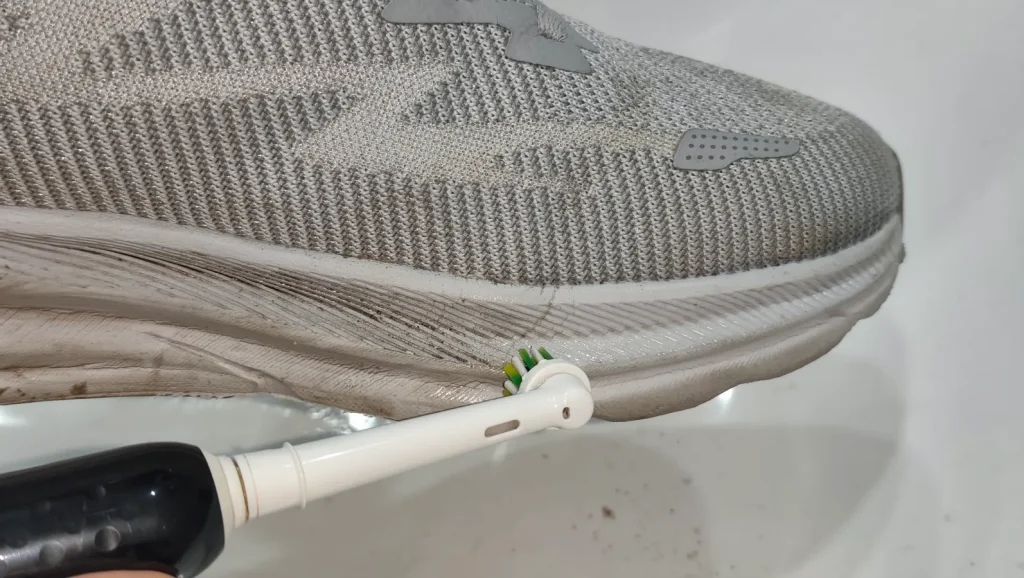
Use an old toothbrush or a stiff dry brush to work out anything remaining in the tread grooves. This step is important for two reasons: loose grit in the machine drum can score the drum lining over time, and it can re-deposit onto the shoe fabric during the wash cycle.
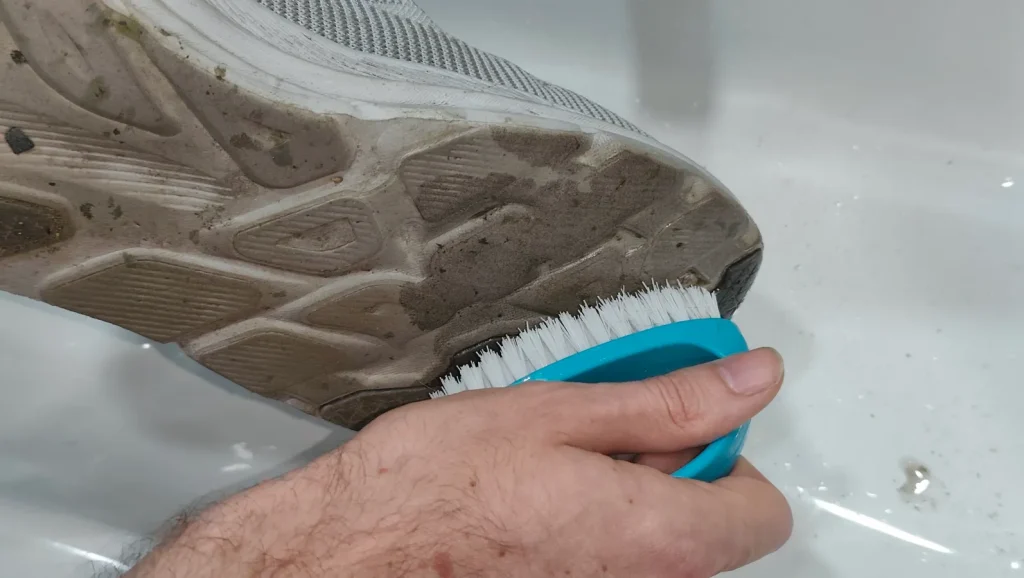
For heavily caked mud, let it dry completely first. Dried mud brushes off in chunks. Wet mud smears across the fabric and is much harder to remove.
Step 5 — Pre-Treat Visible Stains
Identify any specific stains before washing and treat them directly. The washing machine alone will not remove set-in stains — it needs help.
By stain type:
Mud and dirt: Let it dry completely, brush off the bulk, then apply a small amount of liquid detergent directly to the stain. Work it gently into the fabric with a soft brush or your fingers. Leave for 5–10 minutes before washing.
Grass stains: Apply liquid detergent or a commercial stain remover. Grass stains are tannin-based and respond well to enzyme-based detergents. Let it sit for 10–15 minutes.
Oil and grease: Apply a small amount of dish soap directly to the stain — dish soap is specifically designed to cut through grease. Leave for 5 minutes before washing.
Ink: Dab (do not rub) with a small amount of rubbing alcohol on a clean cloth, working from the outside of the stain inward. Then apply liquid detergent and leave before washing. Rubbing spreads ink into the fabric fibres — always dab.
Scuff marks on rubber: A small amount of toothpaste (non-gel, white) applied with an old toothbrush removes rubber scuffs from midsoles and toe caps effectively. Rinse off before washing.
White fabric yellowing: Mix baking soda and a small amount of hydrogen peroxide into a paste. Apply to yellowed areas, leave in sunlight for 30–60 minutes, then rinse before washing. This works on fabric and canvas — not on foam midsoles.
Step 6 — Decide on Your Cleaning Method
Now that you have prepared your sneakers for washing, choose your method depending on your shoe material and how dirty they are.
Machine wash — fastest and most thorough for fabric and mesh shoes. Safe for most canvas and synthetic trainers.
Hand wash — best for delicate fabrics, shoes with embellishments, or any shoe you are uncertain about. Takes more time but carries zero risk of drum damage or heat exposure.
Spot clean only — for leather, suede, nubuck, or any shoe with a “do not wash” care label. Use a damp cloth, material-specific cleaner, and treat only the affected areas.
Read also:
- Machine wash: [How to Wash Sneakers in the Washing Machine]
- Hand wash: [How to Wash Sneakers by Hand]
- Leather: [How to Clean Leather Sneakers]
- Suede: [How to Clean Suede Sneakers]
Prep for Specific Situations
Washing muddy shoes
Muddy shoes need extra prep time. Leave them to dry completely — 12–24 hours if heavily caked. Once dry, knock off the bulk outdoors, then use a stiff brush on the outsoles and a softer brush on the fabric upper. Do not put wet muddy shoes directly into the washing machine — the mud clogs the machine filter and can redeposit onto the fabric.
Washing white shoes
White shoes benefit from pre-soaking the outsole rubber. Mix warm water with a small amount of dish soap and scrub the rubber midsole and outsole with a brush before the main wash. This removes surface grime that washing alone may set permanently.
Washing smelly shoes
If odour is the primary problem, sprinkle baking soda generously inside each shoe and leave overnight before washing. This draws out moisture and neutralises some of the bacteria causing the smell. Tap out the baking soda before placing shoes in the machine or washing by hand.
Washing second-hand or vintage shoes
Inspect the sole bond carefully before washing any shoe that is more than a few years old or purchased second-hand. Squeeze the upper and outsole together near the toe and heel — if there is any separation or visible glue deterioration, do not machine wash. The water and agitation will finish what time started. Spot clean only.
FAQ
Do you need to remove laces before washing shoes in the washing machine? Yes. Laces should always be removed before machine or hand washing. They tangle in the machine drum and prevent thorough cleaning of the eyelet area. Wash them separately in the mesh bag or by hand.
Should you take insoles out before washing shoes? Yes. Remove insoles before every wash. Insoles saturate with water and take much longer to dry than the shoe, which causes mildew inside the shoe. Clean insoles separately by hand and let them dry completely before putting them back in.
How do you pre-treat stains on sneakers before washing? Apply liquid laundry detergent, dish soap (for grease), or a dedicated stain remover directly to the stain. Work it in gently with a soft brush or fingers and leave for 5–15 minutes before washing. For ink, dab with rubbing alcohol first, working from the outside of the stain inward.
How do you read shoe care label symbols? A tub of water with a hand icon means hand wash only. A plain tub of water means machine washable. A tub with an X through it means do not wash with water. A circle means dry clean only. When in doubt, hand wash on a cold, gentle basis rather than using the machine.
Can you wash really dirty or muddy shoes in the washing machine? Yes, but prep is critical. Let dried mud set completely, then brush off as much as possible before the shoes go in. Loose wet mud in the machine drum will clog the filter and redeposit onto the fabric during the rinse cycle.